Learning how to navigate ChatGPT interface
Welcome to the next part of our course, where we will learn about the ChatGPT interface ensuring you don’t miss a trick. We will first explore the UI for the free version of ChatGPT and then review the paid version exploring the few extra functionalities it holds.
Free Version
When you first open ChatGPT, you will be greeted with a simple and user-friendly interface.
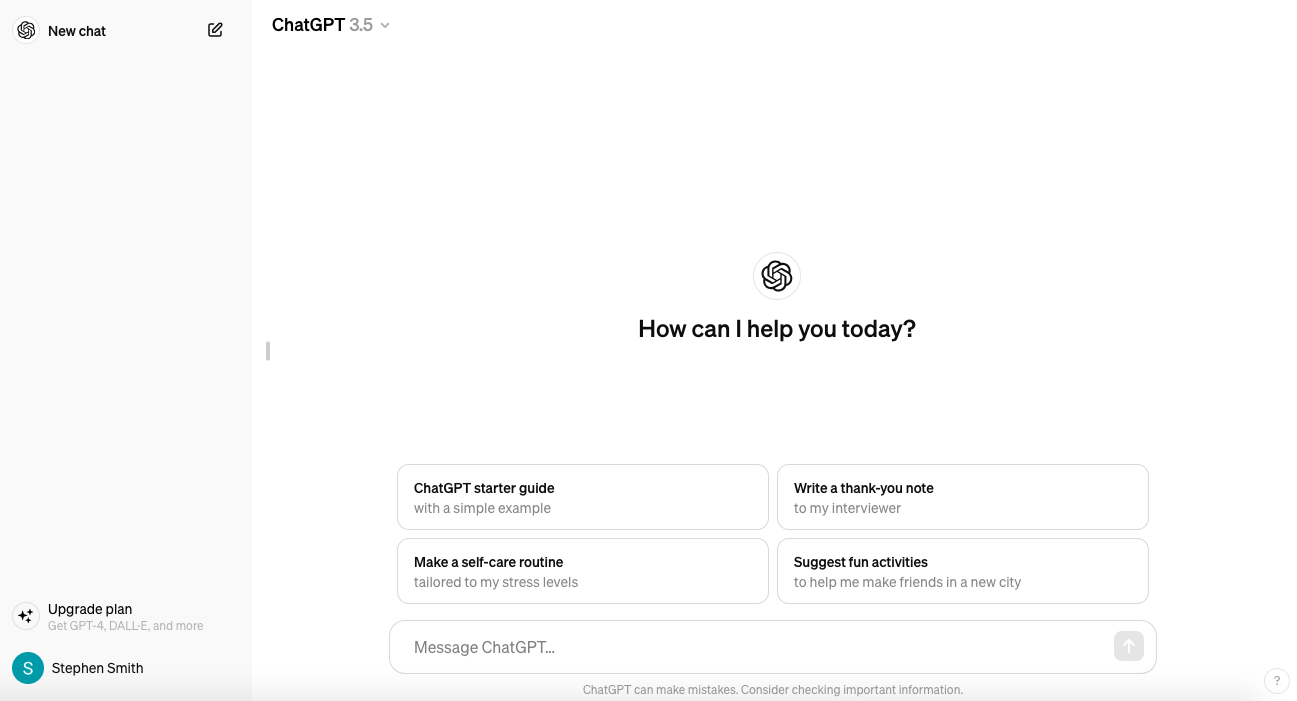
The interface is split up into just a few main sections, we will break down each section and explain what it’s used for. The area you will be using the most is the text box at the bottom of the screen, this is where you will talk (input your prompts) to ChatGPT, where you will ask ChatGPT to generate content for you, whether it’s writing a blog post, coming up with social media blurbs, or just engaging in casual conversation. Once you have finished typing away, just hit the up arrow at the end of the text box to submit your message to chatGPT.
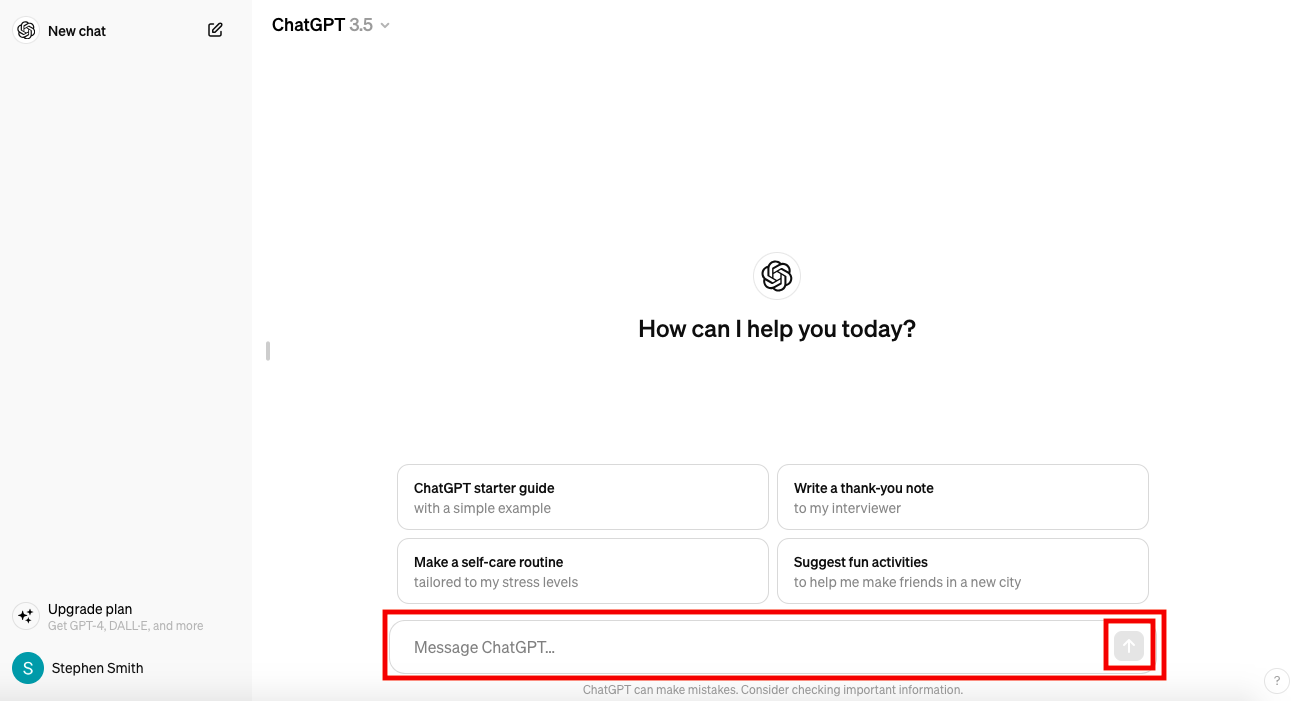
Once you submit your prompt ChatGPT will start processing the information and generating a response within seconds, the output for which will be shown in the body of this page.
It’s important to note that ChatGPT works best with clear and concise prompts. The more specific and detailed your request is, the better the response will be. Additionally, experimenting with different prompts and settings can help you get the most out of ChatGPT and discover its full potential. As this is purely an introduction to ChatGPT, basic and advanced prompting techniques is something that we will cover in dedicated courses.
Sometimes is useful to start a fresh as ChatGPT remembers the context of your conversation, it is recommended to start a new conversation if you want to discuss a new topic. For example, you are having a conversation with ChatGPT about bread recipes, but then you want to write an email or learn python, it is certainly recommended to start a new conversation. To start a new conversation, click the little button in the top right of the screen![]()
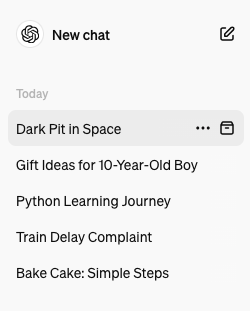
Your conversations can be accessed on the left hand side panel, you can see in the example to the right that each new conversation will have it’s own clickable tab, with a short AI generated summary so at a glance you can see what that conversation is about. As mentioned before it is beneficial to keep different topics in different conversations.
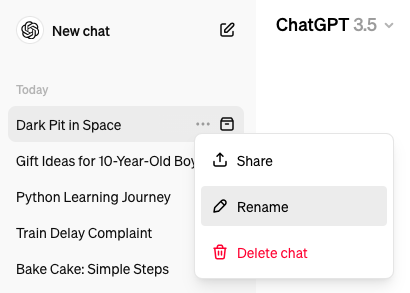
If it produces a short summary that you don’t like, press the three dots on the conversation and select rename, renaming it to something more rememberable so that at a glance you will be able to recall what the conversation is about and carry on that conversation quickly.
Paid Version (GPT4)
In order to access the paid version of ChatGPT, select “Upgrade plan” found at the bottom of the left hand side panel, just above your account name.
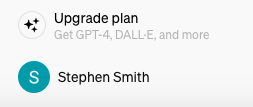
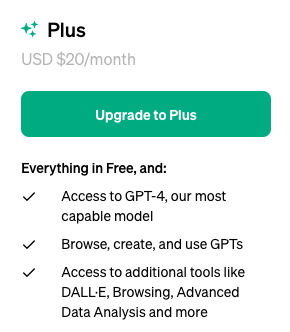
Selecting this will show you the cost and added extras you will receive. At the time of writing the cost of the premium subscription is $20 per month.
For that price you get access to:
- GPT4 (the most intelligent and powerful model OpenAI offers via the web browser)
- The ability to browse (this means chatGPT can search the internet and retrieve results back from the internet (for example if you were to ask for present/gift ideas for a 10 year old, it would produce links, or if you were to ask for research around healthy eating and you wanted the source articles it would be able to produce them).
- You also get the ability to both create and browse custom GPTs (we won’t go into detail here as we have a course on GPTs, however, essentially this allows you to train your own custom version of chatGPT with your own personal data sources).
- On top of browsing and custom GPTs you also get access to Dall-e 3 which can artificially create images from text, again, we won’t go into detail as we have a course dedicated to Dall-e 3.
- Finally you will get access to advanced data analysis (formerly known as code interpreter) which effectively allows ChatGPT to accurately perform computations.
The paid version of GPT4 is very similar, you just some added functionality. The first thing you will want to know about is how to switch between the weaker model (3.5) and the most intelligent model (4). This is very simply down by pressing the drop down which is located just to the right of the left hand side conversation panel, you will be presented with two options GPT-4 and GPT-3.5. Ensure that you are always running with GPT-4 if you have the premium subscription.
One point to note is that as of January 5th 2024, GPT-4 has a rate limit of 40 messages every 3 hours. Although I would class myself as a heavy user and i’ve never reached this limit. If you need a lot more than this, then using the OpenAI API would be the route to go (we have a course on the API).
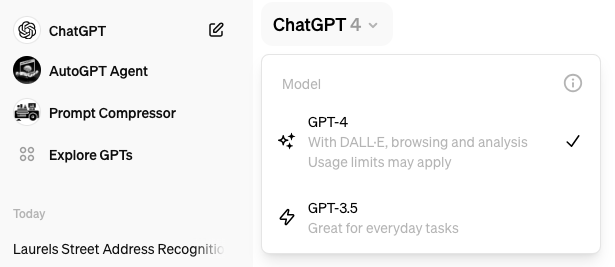
Next, we have the custom GPT’s which we discussed, as you can see in the above image, you can explore the custom GPT marketplace by selecting “Explore GPTs” located just above your conversation history on the left.
If you want to create your own customGPT, simply head to your profile/account picture at the bottom of your conversation history panel and select My GPTs.
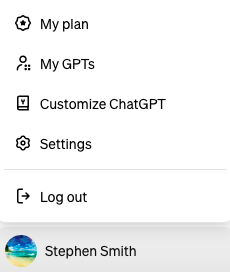
You can also add something called a Custom Instruction, effectively this instructs chatGPT to work in a certain way, we have a module on this so we won’t cover this now, but ultimately if you wanted it to only talk like a pirate, you could make it do this via a custom instruction. To add a custom instruction select Customise my ChatGPT.
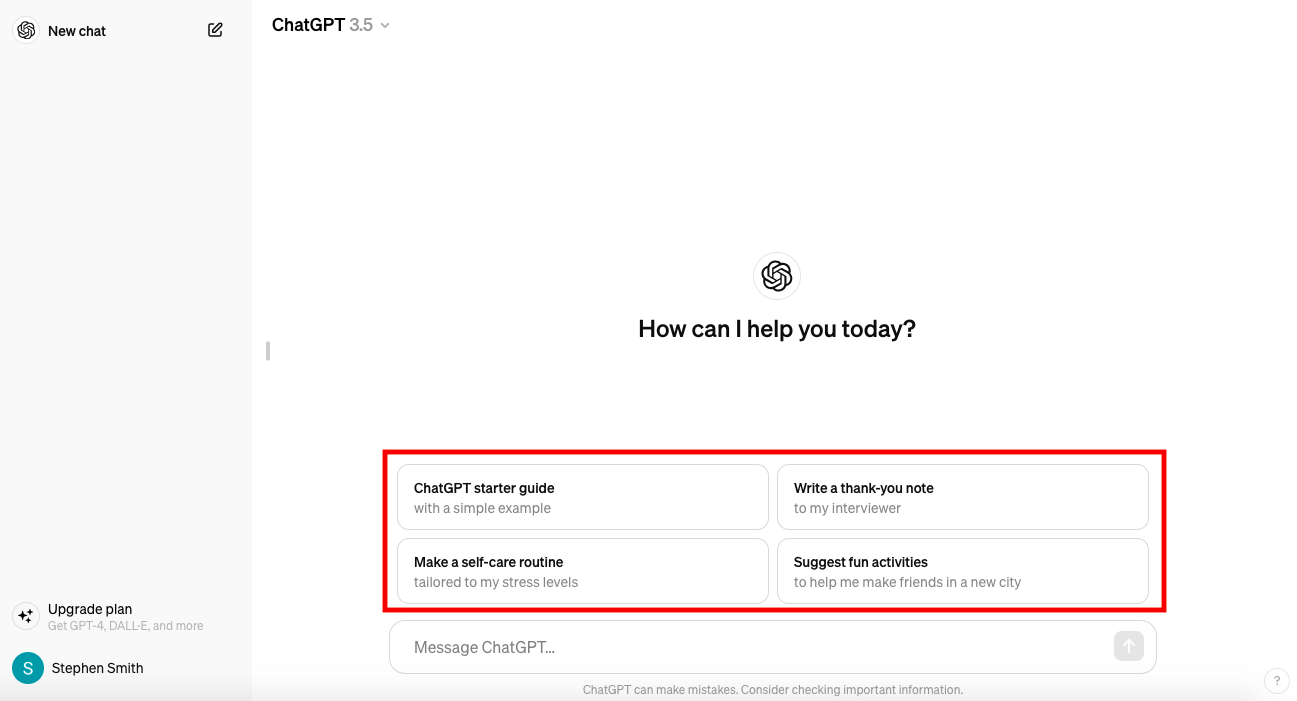
If you ever get stuck for what to do, even though you can literally do most things, ChatGPT will offer you some suggestions which will always be above the search bar, if you see one that inspires you, simply click on it.
In the next course we will look at basic prompting techniques to improve the output, ensuring you get out what you want more of the time.